
Make your own fishing lures from Home. Want to catch more fish without spending a fortune? Making your own fishing lures is a smart move. You’ll save cash and gain serious bragging rights for your custom creations. This guide shows you how to start this fun hobby. We’ll cover easy techniques and essential tools. Get ready to become a lure-making pro.
Make Your Own Fishing Lures From Home DIY
For many anglers, fishing is more than just a hobby; it’s a passion. And what could be more satisfying than reeling in a prize catch with a lure you crafted yourself? Making your own fishing lures from home is a rewarding endeavor that not only deepens your connection to the sport but also offers endless possibilities for customization, cost savings, and creative expression.
Whether you’re a seasoned pro or just starting out, diving into the world of DIY fishing lures opens up a whole new dimension of angling enjoyment. The beauty of crafting your own lures lies in the ability to tailor them precisely to your fishing conditions, target species, and personal preferences.
Forget generic off-the-shelf options; with a bit of dedication and the right fishing lure making supplies, you can design lures that truly stand out. From the vibrant colors to the intricate actions, every detail can be optimized for success.
DISCLOSURE: Some of the links on this page are affiliate links, meaning, that at no additional cost to you, I may earn a commission if you click through and make a purchase. Affiliate commissions help fund this website, our rare fishing trips and my extreme coffee addiction.
Make Your Own Fishing Lures Kit: Your Starting Point

For those eager to jump into the hobby but unsure where to begin, a make your own fishing lures kit is an excellent starting point. These kits typically come with a selection of fishing lure making materials, tools, and instructions, providing a comprehensive introduction to the craft.
You can find various kits to make your own fishing lures online, tailored for different lure types or fishing styles. A fishing lure making starter kit is designed to get you acquainted with the basic techniques before you invest in more specialized fishing lure making supplies wholesale or fishing lure making parts.
Many beginners find it beneficial to explore fishing lure making catalogs or make your own fishing lures online resources to see the vast array of options available.
Equipment to Make Your Own Fishing Lures

Before you start crafting, it’s essential to gather your fishing lure making materials and fishing lure making supplies. The exact fish lure making supplies you’ll need will depend on the type of lure you plan to create, but some general items include:
- Blades ► LINK – For spinners and some jigs.
- Hooks ► LINK – Treble, single, or jig hooks.
- Weights/Split Shot ► LINK – To balance and sink lures.
- Wire/Leader Material ► LINK – For connecting components.
- Beads ► LINK – For attraction and spacing.
- Paint/Markers ► LINK – For customization and adding realistic details.
- Epoxy/Clear Coats ► LINK – For durability and shine.
- Molds ► LINK – Especially crucial for soft plastics and some hard baits.
- Pliers, cutters, vices ► LINK – Basic tools for assembly.
You can often buy these fishing lure making parts individually or as part of a fishing lure making kit.
Make Your Own Bass Fishing Lure

Make your own bass fishing lure and gain an edge on the water. Bass anglers often target specific presentations, and DIY allows for unique variations.
For crankbaits, you’ll need wooden or plastic bodies, lip material (polycarbonate is common), weights, and hooks. The key is balancing the weight and lip angle to achieve the desired dive depth and wobble.
For jigs, you can pour lead or bismuth heads using molds, then tie on skirts made from silicone, rubber, or natural hair. A bass fishing lure making kit will usually include molds for popular jig head styles, along with skirt materials and jig hooks.
Customizing colors and skirt patterns can make a significant difference in enticing wary bass. Check out some of our post about bass… Spring Bass Fishing Lures to Catch Bass and Spring Bass Fishing Tips Catch Bass like a Pro.
Make Your Own Trout Fishing Lure

Trout, often found in clear, pristine waters, can be finicky eaters. When you make your own Trout Fishing Lure, you can create subtle, realistic presentations that mimic their natural food sources. Small spinnerbaits with delicate blades, tiny jigs, or compact spoons are often effective.
For these, use smaller hooks, lighter wire, and more subdued color patterns, though a bright flash can sometimes trigger a strike. Crafting tiny, hand-painted crankbaits to perfectly imitate local baitfish is another rewarding avenue.
Read some of our posts about trout… Top Lures for Trout Fishing Year-Round and Learn About Trout fishing A Popular American Hobby.
Make Your Own Soft Plastic Fishing Lures
Everything You Need to Make Your Own Soft Plastic Baits Video.One of the most popular and versatile types of DIY lures is soft plastics. To make your own soft plastic fishing lures, you’ll typically need liquid plastic (plastisol), molds, coloring pigments, and often glitter or scent additives.
A make your own soft plastic fishing lures kit usually provides these essentials. The process involves heating the plastisol until it’s liquid, adding color and glitter, then injecting or pouring it into molds.
Once cooled, you have custom soft baits like worms, creature baits, or swimbaits that are incredibly effective. This method allows for endless variations in shape, size, color, and texture, giving you complete control over your presentation.
Make Your Own Spoon Fishing Lure

Learning how to make a spoon fishing lure is one of the simplest entry points into lure crafting. Spoons are essentially curved pieces of metal that wobble and flash in the water, mimicking wounded baitfish. You can start with simple materials like old metal spoons (from the kitchen!), sheet metal, or even heavy-duty washers.
The process involves cutting, shaping, drilling holes for hooks and line, and then polishing or painting. Many anglers enjoy transforming everyday objects into effective fishing tools. Adding a split ring and a treble hook completes the lure. Experiment with different curvatures and thicknesses to alter the action.
If you are going fishing do not forget these things. They might ruin your fishing trip.
How to Make Fly Fishing Lures (Tying Flies)
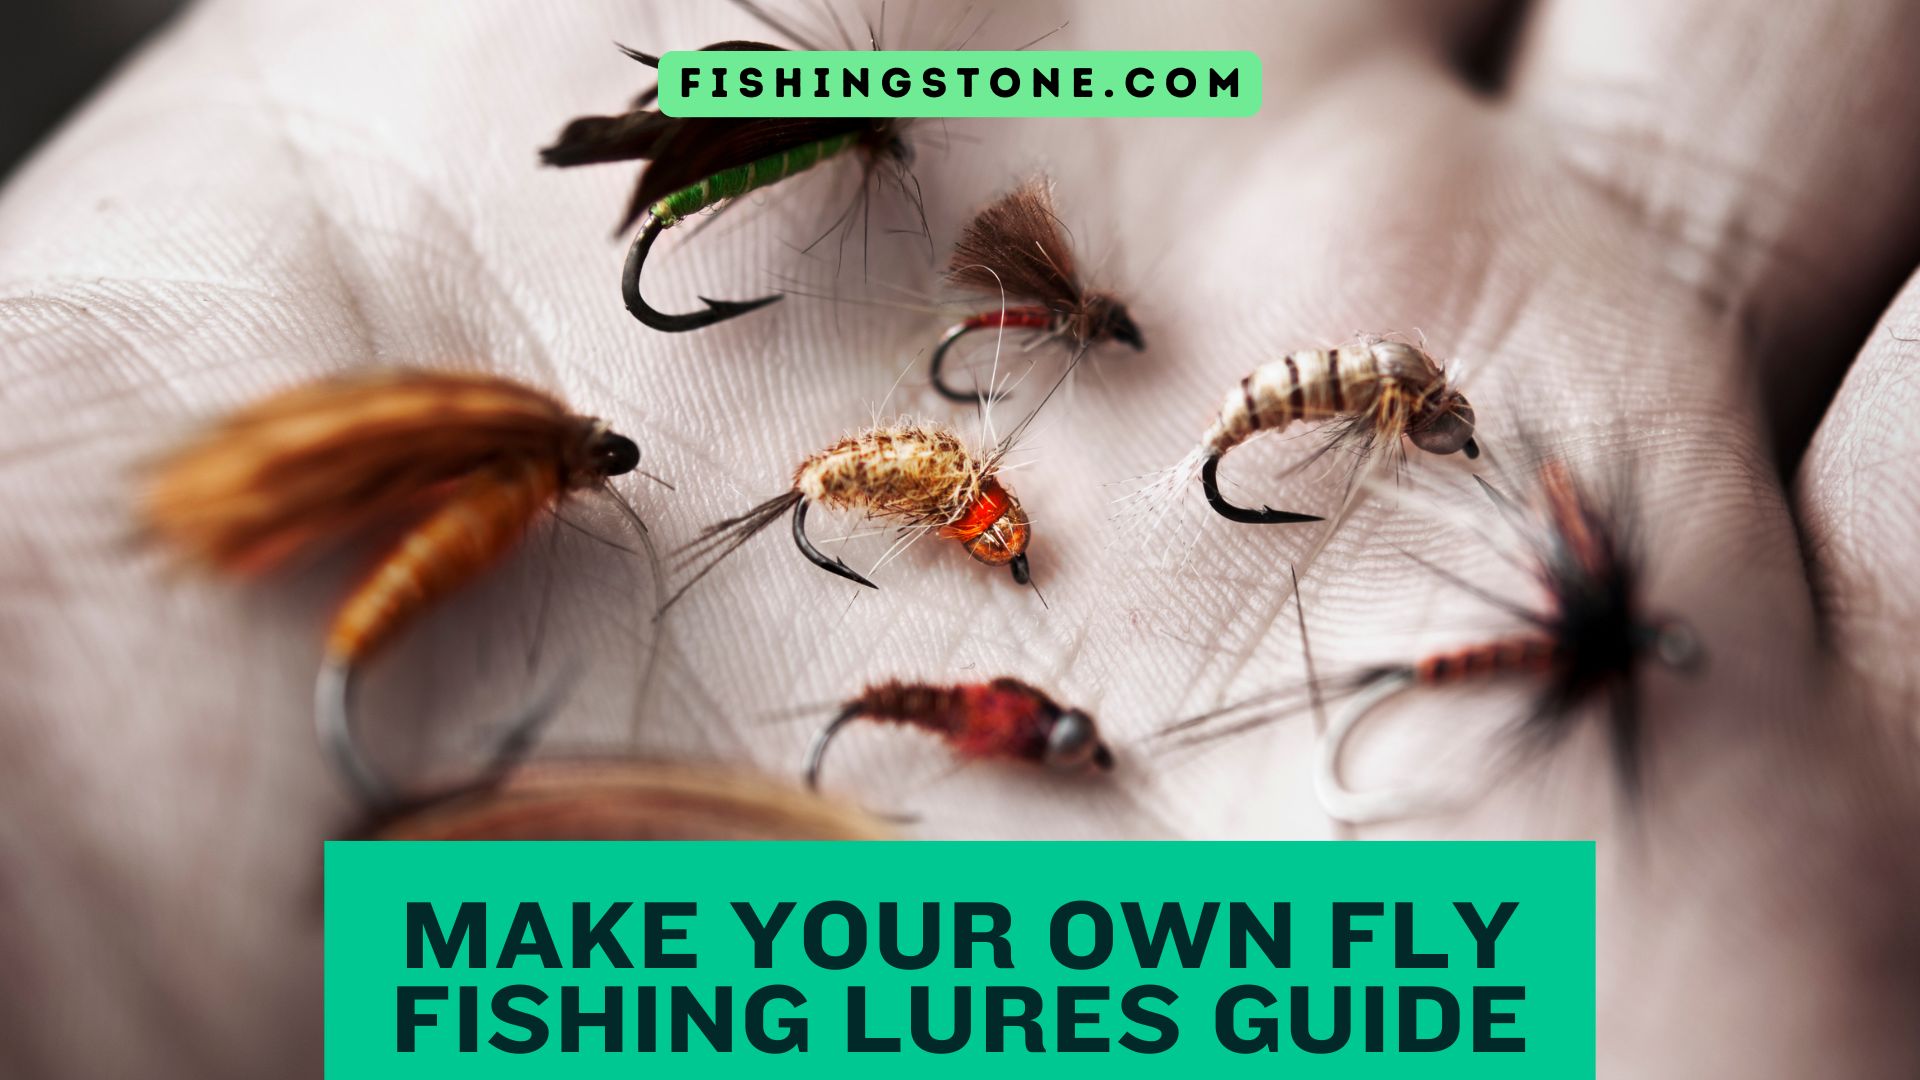
For the finesse angler, how to make fly fishing lures is an art form known as fly tying. This involves attaching natural or synthetic materials to a hook to imitate insects, baitfish, or other aquatic life. To make your own fly fishing lures, you’ll need a fly-tying vise, bobbins, scissors, hackle pliers, and a variety of materials like fur, feathers, thread, and tinsel.
A fly fishing lure making kit often includes basic tools and a selection of materials to get you started. The process requires patience and dexterity but is incredibly rewarding. You can learn how to make your own fly fishing lures by following online tutorials or consulting specialized fishing lure making catalogs. A make your own fly fishing lures kit provides a curated selection for beginners.
Read our post How to Make Your Own Fly Fishing Lures Guide or for more details. Our Fly Fishing Tips for Beginners post might be helpful as well.
Make Your Own Spinners

Spinners are classic, effective lures due to their irresistible flash and vibration. To make your own spinners, you’ll need wire shafts, clevises, beads, blades (Willowleaf, Colorado, Indiana, etc.), and hooks. The process involves forming a loop at one end of the wire, sliding on beads, the clevis and blade, more beads, and then creating another loop to attach the hook.
Experiment with different blade sizes, colors, and bead combinations to create unique actions and attract a wider range of species. They are relatively simple to assemble, making them a great project for beginners.
Make Your Own Fishing Lure Books
For those who prefer traditional learning methods, Make your own fishing lure books offer detailed instructions, diagrams, and material lists. These resources can be invaluable for understanding the nuances of lure design, selection of materials, and advanced techniques.
These fishing lure books cover everything from how to start making fishing lures to highly specialized projects.
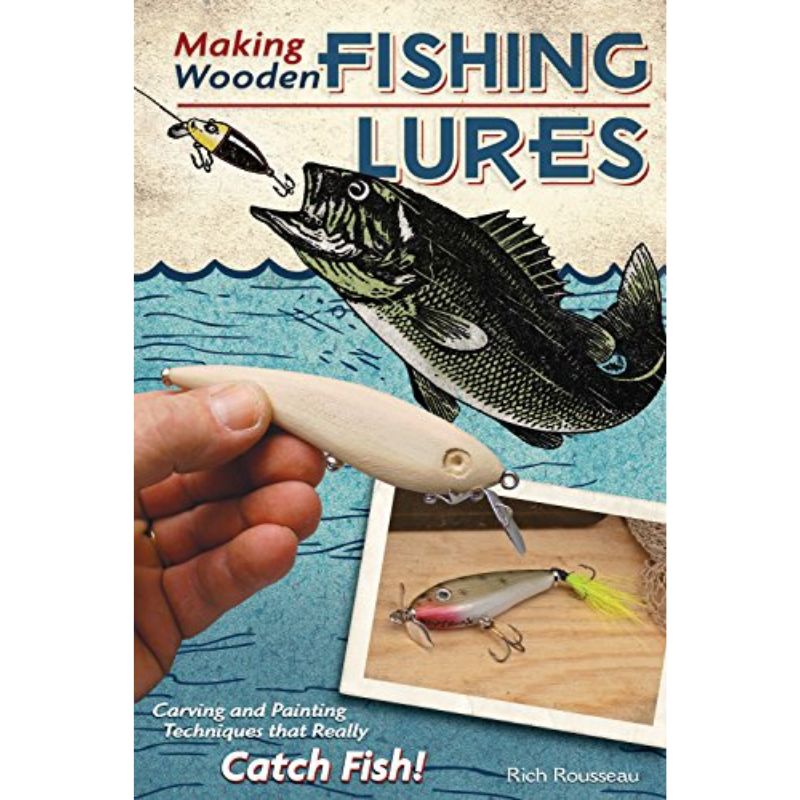
How to Make Your Own Fishing Lures The Complete Illustrated Guide To Make Your Own Lures


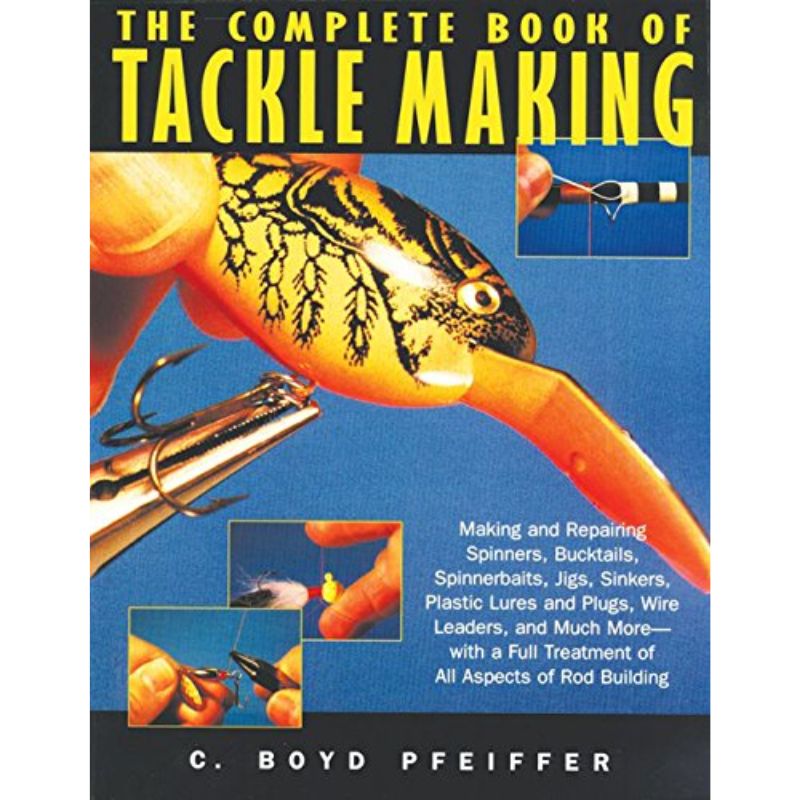
The Complete Book of Tackle Making Paperback by C. Boyd Pfeiffer book on making and caring for fishing tackle
Make Custom Fishing Lures: The Ultimate Satisfaction.
The core appeal of this hobby is the ability to make custom fishing lures. You’re not just assembling parts; you’re designing a tool perfectly suited for your specific needs. Want a crankbait that dives exactly 8 feet and has a unique chartreuse-and-purple pattern? You can make custom fishing lures that fit the bill. Need a bass jig with a super-fine skirt that mimics a particular forage? You’re in control. This level of customization can significantly improve your catch rates and provides immense satisfaction.
Frequently Asked Questions

Is it expensive to start making my own fishing lures? It can be surprisingly affordable to get started. While specialized equipment can add up, many beginners start with a basic fishing lure making starter kit or by gathering simple fishing lure making supplies from hardware stores. Making your own lures often becomes more cost-effective than buying commercial lures, especially as you get more experienced.
What’s the easiest type of fishing lure to start making? For most beginners, learning how to make a spoon fishing lure or make your own spinners are excellent starting points. They require fewer specialized tools and materials compared to soft plastics or hard baits, allowing you to quickly get a feel for the process.
Where can I find patterns or designs for specific lures? There are numerous resources available. Make your own fishing lure books, online forums, YouTube tutorials, and dedicated fishing lure making catalogs are great places to find patterns and inspiration. Many fishing lure kits make your own also come with detailed instructions and patterns.
Do custom-made lures really work better than store-bought ones? Not always inherently better, but they can be. The advantage of make custom fishing lures is the ability to perfectly match the lure to specific local conditions, target species, and water clarity. You can experiment with unique color patterns, weights, and actions that aren’t available commercially, potentially giving you an edge.
What safety precautions should I take when making lures, especially soft plastics or lead jigs? Safety is paramount. When working with hot plastisol for soft plastics or melting lead for jigs, always ensure good ventilation to avoid inhaling fumes. Wear appropriate safety gear, including heat-resistant gloves, safety glasses, and a respirator if recommended. Work in a well-ventilated area, preferably outdoors or with an exhaust fan. Always follow the manufacturer’s instructions for materials like plastisol and epoxy.
Other Posts You Might Like
- Create Your Own Fly Fishing Lures
- Catch Bass with Springtime Bass Fishing Lures
- Your Guide to the Best Trout Lures
- Catch More Bass with This Lure
- Find Out if Your Old Lures Are Valuable
- Essential Tools for Tying Fishing Knots
Thank you for Reading Our Make Your Own Fishing Lures Guide Post
Embarking on the journey to make your own fishing lures is a rewarding adventure. It’s a hobby that combines creativity, engineering, and a deep understanding of fish behavior. With readily available fishing lure making supplies, comprehensive fishing lure making kits, and abundant online tutorials (including make your own fishing lures online resources), getting started has never been easier.
Whether you’re perfecting your how to make a spoon fishing lure, meticulously tying how to make fly fishing lures, or pouring custom soft plastics, the satisfaction of catching a fish on a lure you made yourself is unparalleled. So, gather your fishing lure making materials, dive in, and unleash your inner artisan angler!
Happy fishing!
Fishing Stone post on several sites on Socia Media. By joining us on your favorite ones you can get updates on our latest Fishing Posts.
Find us on Facebook – Twitter – Pinterest – YouTube
Hope you have fun Fishing every day. Fish On!
Make your own fishing lures to save you money, have bragging rights about your amazing talent. Making your own lures can be an exciting hobby for any fisherman.


